Wednesday, March 5, 2014

Polymer Fun

I have dabbled here and there with polymer clay, never really taking it too seriously.  Sure, I'd made some buttons that were pretty good, but had not really done much else with it.  A couple of months ago I picked up a 3-pack of clay tools that are double-ended, each with a different function.  I hadn't used them yet only because I was trying to figure out a better surface to work on.  Last week I bought an inexpensive pastry mat at Wal-Mart and figured it was time to pull my stuff out and give it a go.

I attempted my first canes using a technique I'd found on Pinterest.  Rather than making 3 of these canes, still unsure as to what I want to do with them, I took the leftover blocks, laid them out, and made the cane that you see on the far left.  (This picture also shows the two stacked canes - that's what I've decided to call them - before they were cut to even them out on the ends.)


Once I cut the uneven ends off, so as not to waste any clay, I rolled them out a little and turned them into buttons.  My 10-year old daughter is in love with them.  Something tells me one of the canes is going to be used to make her another covered hook of her own. 


The remaining canes turned out great.  It is a frosty glittered white, rosy pink, fuschia, pearl purple, and deep purple all stacked and rolled up in brown suede. 


The cane that wasn't rolled in the brown suede was cut into slices to create the two canes on the right (one is my daughter's and the other is an extra hook I have in case I need a back-up).  The other simply has the colors marbled together and was used to cover the hook my daughter uses for her Rainbow Loom. 


I used extra clay in the same colors to create round buttons in 3 different sizes and some small square buttons. 


 Of all of my current clay creations, my favorite is the mini yarn balls.  I followed instructions from a current blog post on Repeat Crafter Me.   I made 4 in each color.  Two sets have been turned into stitch markers, while the other two sets have been turned into earrings - they can also be turned into necklaces, keychains, etc.  They were fun to make, though I have to admit they were more time consuming than I expected.  If you're interested in the yarn balls but don't have the patience to try them out for yourself, check back in for our Giveaway Extravaganza this weekend.  I'll be giving away a full set of the stitch markers (one in each of the 4 colors) as one of the prizes.

 
The buttons, stitch markers/earrings, covered crochet hooks, and canes are all available for purchase if anyone is interested.  If ordering a hat or other finished item, we'll happily add one of the buttons at no additional cost.  You can email us or message us on Facebook for price quotes.  Custom buttons and markers are also available.  This does not mean crocheting and pattern designing is taking a backseat to the clay - it definitely is not!  The clay is just a way for us to expand our horizons and allow us a temporary yarn break from time-to-time. 


Tuesday, February 18, 2014

Horizontal Bar/Third Loop Method

About a year ago I purchased a pattern that I couldn't wait to start.  The problem I ran into was that one of the stitch techniques used was one I had not even heard of.  Fortunately, the writer gave great instructions on how to work the technique - she referred to it as the Third Loop Method.  As time has passed, I've written patterns myself using this technique, and have recently discovered that many people also know it as the Horizontal Bar.  For those who don't know what this stitch is, it is used to give the appearance of knit without actually knitting.  Here is a step-by-step tutorial using Half Double Crochets to make it easier to see:


When working with crochet stitches, you normally see two loops - the front and back (also known as top and bottom).


What you may not realize is that there is actually a third loop.  This loop is also known as the Horitzontal Bar.  To locate the third loop, you have to start by locating your front and back ones.  Once you do so, look behind the loop on the backside of your work.  There should be a loop running almost parallel to your back loop - that is the third loop/horizontal bar.


Here is what it looks like if you're working a Half Double Crochet into that third loop/horizontal bar.


If you're looking for a fun hat to practice this stitch, check out our Ribbed Slouchy hat.  You can find it on Ravelry or Craftsy.

Sunday, February 16, 2014

Moogly CAL - Square #3

I finally got some time to work the third square in the Moogly Afghan CAL.  Week 3 was the Hugs & Kisses Square by Aurora Suominen.  I love how it turned out, but I have to say that this square is sending my OCD into overdrive in a big way.  LOL  Here, let me show you why...

Do you see how the star in the center is turned off-center?  Yeah, that is going to drive me insane everytime I look at it.  Unfortunately, with stars having 5 sides and squares having 4, I can understand why it's like this, but that doesn't shut the little voice in my brain up.  :)  This was actually an interesting square to work - it challenged me a little more than other squares  because of the Back Cross Stitches.  I'd never worked those before so it was nice to learn something new. 

Friday, February 14, 2014

Moogly CAL - Block #2

The second square in Moogly's Afghan Crochet-Along was announced on January 23rd and is the Catalina Afghan Square by Julie Yeager.  I worked it a few days after it came out but hadn't taken any photos to share with ya'll yet.  Here is how my finished square turned out:

Thursday, February 13, 2014

Woven Cup Cozy by Lhea Hamilton

Today I decided to try out a new cup cozy.  It's been awhile since I made one and I was long overdue.  Besides, I need a new one for cup since the rubber one that was around it broke off.  I received the Woven Cup Cozy from Lhea Hamilton and decided to give it a shot.

Before working a pattern, I've made it a habit to read through the entire thing first.  If you don't already do this yourself, I highly recommend it.  It gives you the opportunity to make sure you are familiar with all of the stitches and techniques used, as well as to be sure that you have all of the materials you need on hand before beginning.

The first thing I noticed was that all of the stitches seem simple enough that even a beginner could handle this pattern.  The other thing I noticed immediately is that there was no gauge given.  I've learned that gauging is a huge necessity for me before I start a pattern because I tend to crochet tighter than most patterns are gauged for, causing me to have to use a larger hook.  The last thing I noticed about the pattern, which isn't a pro or con, is that I would have liked to have seen a larger photo of the finished product on the pattern.  That is completely a preference thing though - as a photography hobbiest, I love pictures.  :)

On to the pattern - Lhea did a great job of giving step-by-step instructions that were clear and easy to understand.  She even included a link on how to work the Basketweave Stitch.  I hadn't actually worked this stitch before but the link wasn't needed because her instructions were written so well.  The pattern worked up quickly and is going to be a great go-to for last minute gifts for all of my coffee-loving friends!!

If you decide to give this pattern a try, you may want to familiarize yourself with the Third Loop Method, also known as using the Horizontal Bar.  Check our Stitch Techniques page out because we'll be adding instructions soon!

To purchase your own copy of Lhea's Woven Cup Cozy, visit the Nomadi Crafts shop on Ravelry or Etsy.  Lhea Hamilton has been crocheting for over 10 years, starting after her grandfather taught her the basics.  The name of her shop, Nomadi Crafts, was inspired by crocheting being a hobby that she could take with her wherever she travelled.  This is one of her first of what we hope will be many written patterns by Lhea.  Be sure to follow her on Facebook for future designs.

Tuesday, February 4, 2014

Invisible Join

It always makes me smile to finish a project, but that last slip stitch can be such an eyesore.  Well, let me introduce you to the Invisible Join.  This is the perfect way to complete any project - it's easy, takes only a few seconds longer than a regular slip stitch, and makes the last row of any crochet project look great. 

The process actually creates a "false stitch" - this means it looks like there is a completed stitch rather than the join and it hides your end point.  Follow these step-by-step photos and instructions to learn how you can use the Invisible Join to finish off your own crochet projects:

To work an Invisible Join, start by fastening off your yarn after working your final stitch - do not join!  Using a yarn needle, work through the stitch you're joining to, pulling to tighten. 


Bring the yarn back around to your last worked stitch and go down into the stitch from the top, creating what appears to be an actual stitch.  Adjust yarn if necessary to make it blend in with other stitches.  Weave in end.


What are your thoughts?  Is the Invisible Join worth trying??

Calling All Crocheters!!

In an attempt to try out some of the patterns that have been lingering in our pattern library, I've decided to do some Pattern Reviews.  These reviews will be purely my opinion - I will not be getting paid by the designer or anyone else to say good (or bad) things about the designs reviewed.  I will be doing my best to keep all criticism constructive and helpful to others who may try the pattern in the future.

On that note, if you are a Crochet Pattern Designer and would like to have one of your patterns tested by the Housewives, please send an email to HookingHousewives@yahoo.com.  Be sure to include your name, contact information (email is fine), Shop name, any websites/links, and a link to or photo of the pattern you would like us to test.  If your pattern is selected, you will be notified for additional information.  We will want some basic information about your Shop to include with the pattern review.  In addition, if the pattern is not free, we may request that you provide us with a copy. 

All reviewed patterns will be featured on our blog with links on our Facebook page to help promote the blog post.  We're open to testing all kinds of crochet patterns - if it's a blanket you're wanting tested, we may work out a way make a mini version or work just a section (enough that the pattern is still being given a fair chance). 

So who wants to have their pattern tested?  READY, SET,GO!!!!

Monday, February 3, 2014

Chainless Foundation Method (Single Crochet)

The most common way to start a new crochet project is using a chain and working your first row of stitches into that chain.  That all changed for me when I learned the Chainless Foundation Method (CFM) about a year ago.  It looks so much cleaner and more uniform to the last row when you look at it... And if you're working a hat from the brim up, it gives more stretch than starting with a chain allows for. 

For those who don't know the Chainless Foundation Method, here is a step-by-step photo tutorial to help you learn:


Start by working a chain 2. 


Insert your hook into the first chain and pull up a loop.


The next step is to pull up another loop through the loop you just made.


 You'll then pull up a loop through 2 loops on your hook.  You have now completed one single crochet. 


To work the next CFM, start with the first yarn over and follow the steps again.  To work the next stitch, insert your hook into the first chain you created in the previous stitch and pull up a loop.  Continue from * to finish the stitch.  Repeat this step until you have your desired length. 


This is what your first row should look like.  You have worked the starting chain and first row of single crochet all in one.


Sunday, February 2, 2014

Who doesn't love Snappy Tots patterns!?!

If you know me, one of my favorite crochet pattern designers is Heidi Yates, the brilliant mind behind Snappy Tots!!  Her patterns are always so much fun and whimsical, and even an inexperienced hooker can work them up.

She is currently running a Pay it Forward with Patterns contest.  Each month one winner will be chosen - the winner will receive 10 free patterns, including all new released patterns for that month.  Plus, the winner will get to choose one person to receive 10 free patterns of their own!!

If you want to take your chance at winning some free patterns, stop by and check out her blog post.  And while you're there, check out the link to her Ravelry store - she has all of her patterns 48% off through the end of the day!!

Thursday, January 30, 2014

New Pattern Release - BLOCK MAN!!!

With a 5-year old who has been eagerly awaiting the Feb. 7th release of The Lego Movie, I decided to make a special hat that he could wear in the meantime.  Introducing... BLOCK MAN!!!


My son was very excited to try on the finished hat - and now I'm having to fight to get it off of him.  LOL

The pattern is now available for purchase in both our Ravelry shop and our Craftsy shop for $3.49.  But today and tomorrow you can get it for only $1.99!!!


Wednesday, January 29, 2014

Snow Day on the Gulf Coast

I know that to the majority of our friends and fans, a snow day is not a big deal.  But here on the Alabama Gulf Coast (we live 30 minutes north of the beach), a snow (or ice) day is HUGE!  Most of the kids in this area have never seen snow - and even a few of the adults.  I was born in West Virginia, so seeing snow is nothing new to me, but I've been in the South for 24 years. It's been a long time. 

The day started with icy rain and sleet...


...but as the day progressed, we finally saw snow!!


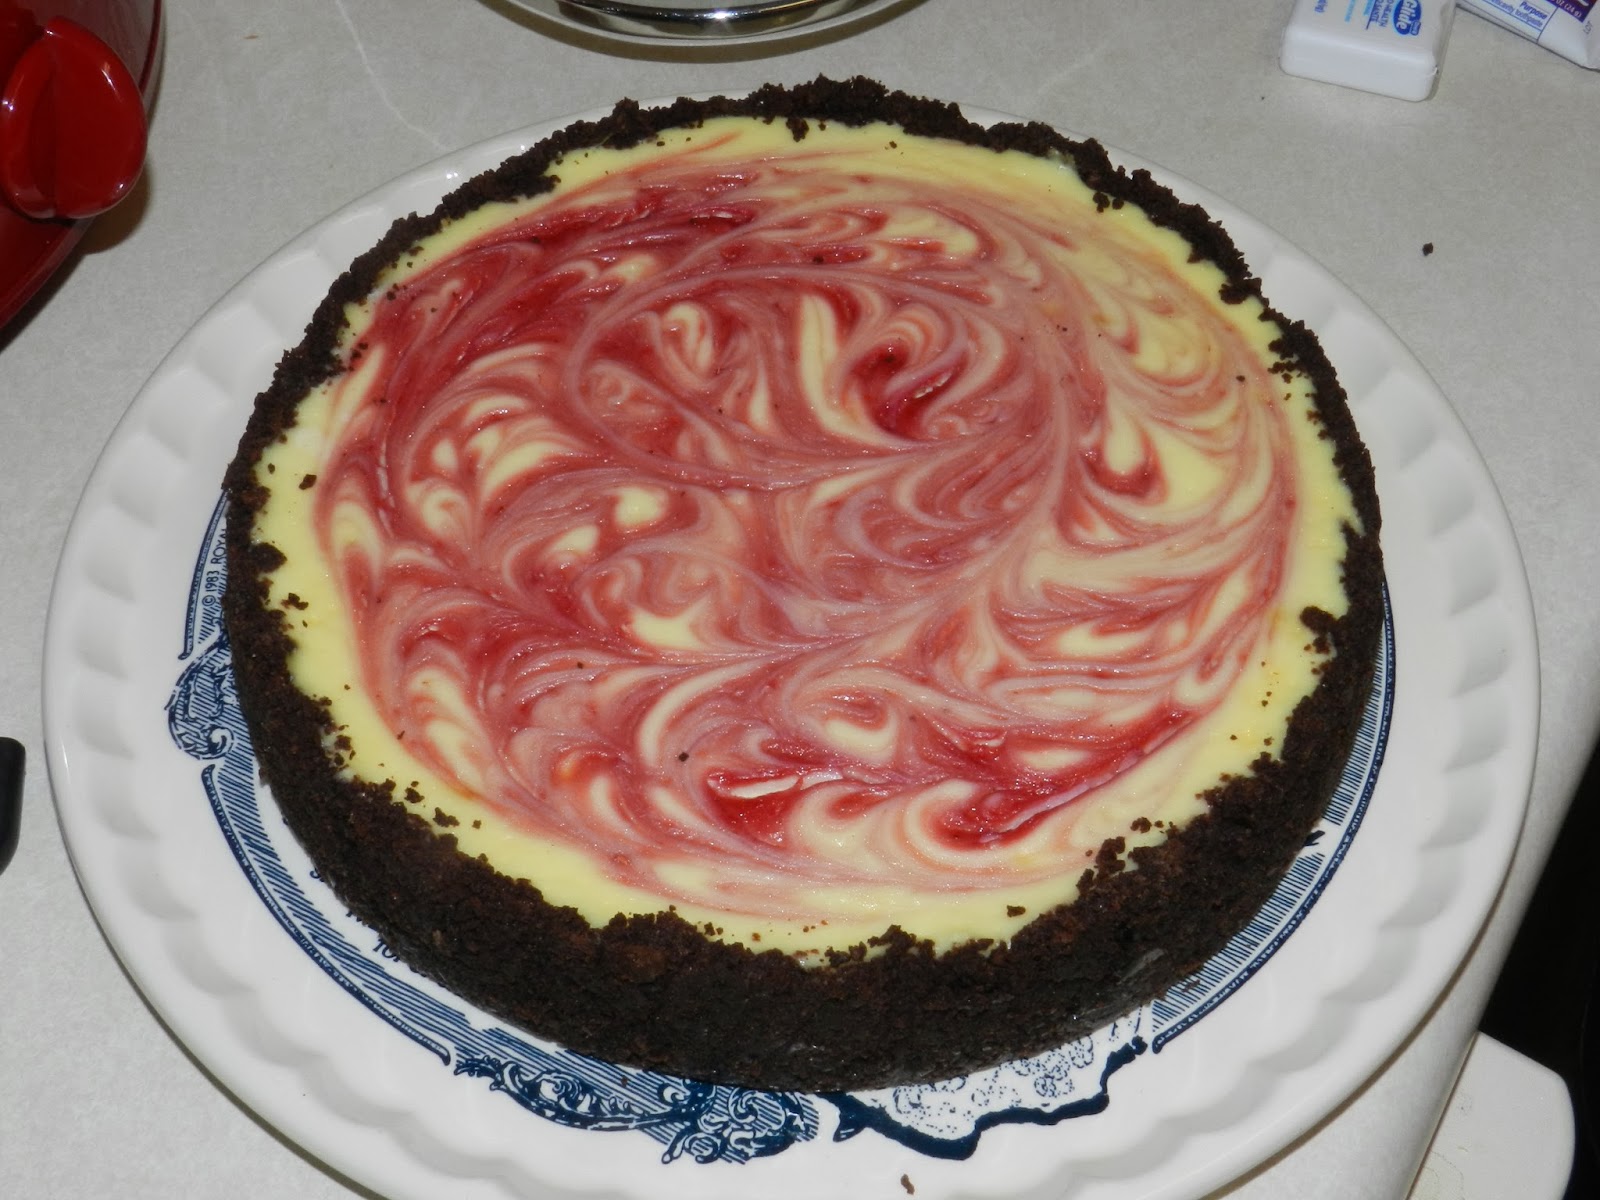
We had a great time playing and having some family time - and it was the first time in years I've had both my hubby and the kids home all day for my birthday.  That meant I had nothing to do (my hubby always spoils me on my birthday) and he even made me a homemade cheesecake - raspberry swirled and topped with ganache, fresh raspberry puree, and homemade whipped cream.


And this was what it still looked like this morning - the difference is that now, even though it looks soft, everything is frozen solid.


Of course I had LOTS of time to crochet - I wrapped up my 2nd square for the Moogly CAL and even started writing a new pattern.  I'll post about those within the next couple of days so stay tuned...
 
~ Jamie

Sunday, January 19, 2014

New Pattern - Bow Scarf

After a few Pinterest followers contacted me, as well as some of our Facebook fans, I was asked to create a pattern for a basic scarf with a large bow on it.  I myself had come across the same photo on Pinterest, but I was unable to find a pattern to show some love to a fellow designer. 

With that said, I was off and running, creating the pattern for this scarf in one evening.


The pattern includes instructions for scarves in your choice of 3 lengths, 3 widths, and 3 bow sizes, allowing you to have some real fun creating a scarf that is fun and unique.  Check out some of the fun ways my testers used this pattern:


And through Monday, January 20,  you can get the pattern for only $2.49 - no coupon code needed!  Visit our Raverly store to purchase your copy!!!

Sunday, January 12, 2014

Moogly Afghan CAL - Block #1

As I announced earlier in the week, at least one of the Housewives will be participating in the Afghan Crochet-Along being hosted throughout the year Moogly

The first thing I had to determine before starting anything was the color palette I want to use.  Since I rarely make anything for myself, I decided to make it in colors to match our master bedroom - that means I'll be working with various shades of teal blue, cream, and brown.  (I honestly can't even tell you what brands or shades I'm starting with because I've had them put up for another project I was going to do for the bedroom.)

I sat down between Friday night and throughout the day on Saturday and worked up the first square for the CAL.  The Anticipation Mystery block by Margaret MacInnis was the first blog to be introduced for the CAL.  Here's how it turned out:


This is probably one of the most difficult patterns I've ever worked, but I love the final product.  I haven't blocked before, but I know it's going to be necessary for this project!  Are you participating in the Moogly Afghan CAL?  Send us your photos and we'll share them on the blog!!

Thursday, January 9, 2014

Moogly Afghan Crochet-Along

Last year I attempted a project to create a different Granny Square.  The plan was to do one each day for the entire year - yeah, it didn't even come close to happening.  LOL  I've been wanting to try another year long project but wasn't sure what I wanted to do.  I did know, however, that I didn't want to take on something that was going to consume a ton of time.

Behold... MOOGLY has resolved my problem.  Moogly just kicked off an Afghan Crochet-Along.  Every other Thursday from January through November, they will be posting a link to a mystery square.  The squares will be 12" and in the end, there will be enough to make a 4x6' afghan (with a little extra once you join and add a border). 

That's it - there are no rules, no color or yarn requirements, and it's FREE (yes, we love that word here at the Hooking Housewives). 

Sooooooo... the first square was linked up yesterday.  I'll work it over the next few days and will track my own progress here with pictures.  I never make anything for myself so I figure this may be a fun way to do it. If you want to join us, you can see the full post from here.  And if you decide to participate, feel free to share your pictures with the Housewives as well as Moogly.  :)

Tuesday, January 7, 2014

Polar Vortex

We know that with the frigid temperatures, many of you are stuck indoors.  What better time to try out a new crochet pattern.  That being said, all Hooking Housewives patterns will be on sale Tuesday and Wednesday - use coupon code "COLD" to get your discount.

Visit our Ravelry store here... and if you don't have money for a new pattern, pick up one of our FREE ones. 

And as always, if you try out one of our patterns, please share your photos on our FB page.

Monday, January 6, 2014

New Pattern - Chevron Cowl & Infinity Scarf

Our first pattern for 2014 is here -it's a Chevron Cowl & Infinity Scarf.
 
 
This pattern is so versatile and easy to work up.  It's written for sizes Tween/Teen through Women but includes instructions on how to easily adapt it for smaller (or even larger) sizes.  You can skip the worsted weight yarn to use something more appropriate for your taste.  Check out some of the creations our testers came up with:


The best thing about this pattern is that IT'S FREE!!!  You can get your copy in our Ravelry store HERE.  And if you make one of your own using the pattern, share your pictures with us on Facebook.